How to Use Dr. Brown’s Bottle Warmer and What is A Bottle Warmer
Bottle warmer is an electric device that’s used to warm liquid foods (milk, breastmilk, made-up formula milk etc) for baby. Standard bottle warmers have a central vessel where bottle full of milk is placed. While electric power is provided to it, it heats up the bottle milk with help of the heating mechanism and the water surrounding the bottle itself.
This article is about the process of “how to use Dr. brown’s bottle warmer” where we are going to explain every tiny step of using Dr. Brown Bottle warmer in a safe, convenient way.
Do I Need A Bottle Warmer for My Baby?
The bottle warmer is such a tool of parenting which some parents don’t want to touch at all and some other parents think that it’s a necessary day-to-day tool for their baby. Parents who have babies who are more particular than other about getting fed at the right temperature.
You might be are one of those busy parents who find it very challenging to fed their baby with warm milk in time. Then you might be in need of a bottle warmer designed according to your baby’s comfort, safety, and nutrient.
How to Use Dr. Brown’s Bottle Warmer Safely
If you are planning to breastfeed your baby though a bottle warmer, and trying to learn how to use Dr. brown’s bottle warmer, you should be quite careful about choosing the right brand, because all of the available bands don’t keep the milk quality as it was.
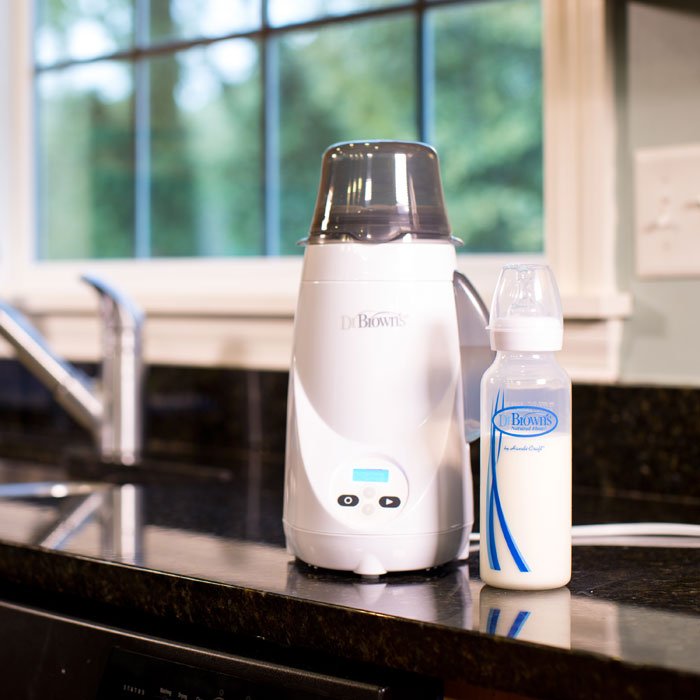
Dr. Brown’s bottle warmer is of the top brands of best bottle warmer list. Considering the health aspects, its only convenient to warm your baby’s ready-made formula milk or expressed breastmilk in a bottle warmer like Dr. Brown. Now, you are in need of using a bottle warmer for your baby, here are the Dr. brown’s bottle warmer instructions for you-
Step 1 of 6: Assembling Dr. Brown Bottle Warmer
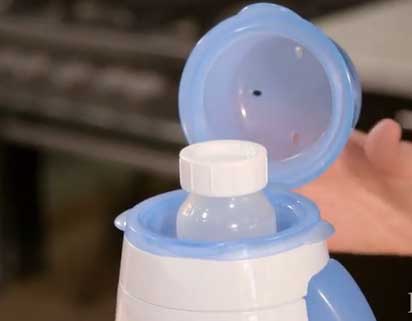
For learning how to use Dr. brown’s bottle warmer, firstly you have to assemble the bottle with either refrigerated breastmilk or ready-made formula made milk. If you are doing this with formula made milk, make sure you have used purified water. Now after preparing the milk, place the bottle full of milk inside the bottle. Importantly, you have to keep the bottle warmer unplugged and empty at this step.
Step 2 of 6: Filling Up The Bottle Warmer
Dr. brown’s bottle warmer has got indicators of appropriate fill lines that indicates the size of bottle you are using it. You have to fill the warmer with water carefully. While filling water, keep your eyes on the indicator as the indicator is showing how much water you should pour in for a perfect heating.
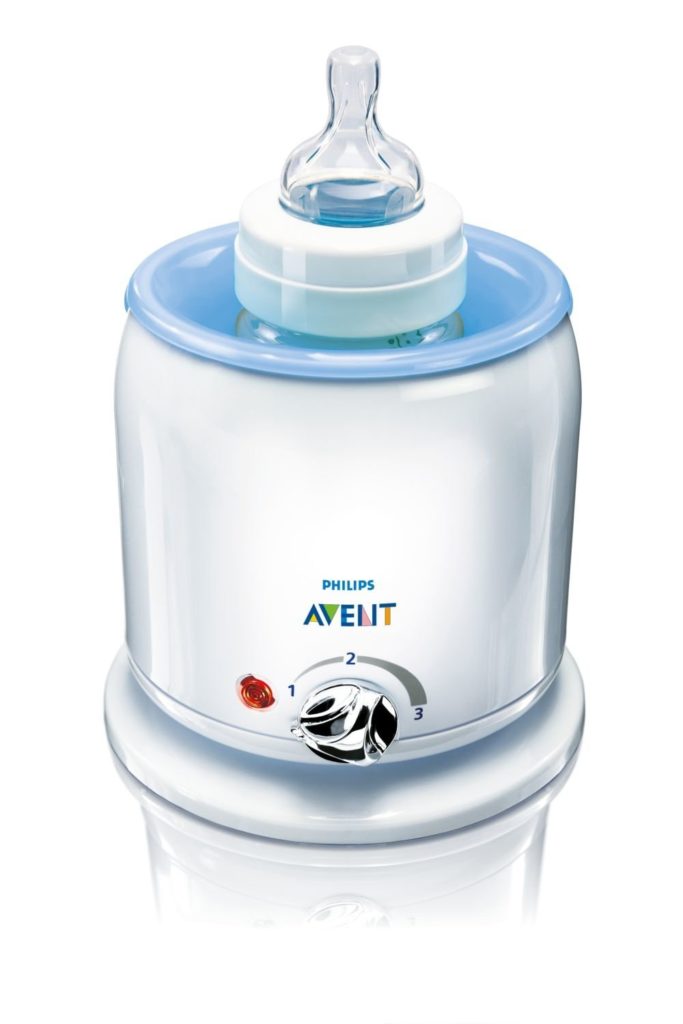
Step 3 of 6: Plugging In and Setting The Temperature
To learn how to use Dr. brown’s bottle warmer perfectly, its important that you know what the power exactly does and when to provide the power to the bottle warmer. After you finish step 2, plug in the bottle warmer and set a level of temperature. The temperature level depends on your babies comfort and the ambient temperature of the room. Obviously, the baby won’t like to take milk of same temperature t winter or summer. You will always have more than two-three temperature preferences to choose from depending on your baby’s comfort.
Step 4 of 6: Warming Up The Bottle
Now if all are set up, leave the bottle to warm up. In some other bottle warmer, there is no automated power control to limit the warming level. But in Dr. Brown’s, you will be enjoying the feature. So you don’t have to worry about unplugging off the bottle warmer before the milk temperature reaches beyond the limit. Thanks to Dr. Brown’s! Besides, it’s true that if you set the temperature manually, the warmer won’t cross the temperature limit. But you have to ensure you have chosen the right temperature for your baby. You can do some trial and error to get the most comfortable temperature zone of your baby.
Step 5 of 6: Unplugging the Warmer While Finished
As the bottle temperature will reach the limit, it will automatically shut up and provide you a signal. Now it’s your turn again to unplug the bottle warmer and check the temperature. Just take a bit of sense of the temperature with hands or finger tips to get it right. If you find it too hot, leave it in an open place for a few minutes and let the temperature fall. If the opposite happens, go from step 2 over again, but for a shorter period of time. IN this way, the trail and error method will take you to a perfect temperature for your baby’s feeding. However, if you’re using Dr. Brown’s Bottle warmer for quite a long time, this step is almost of no use to you. Because you know what temperature exactly your baby prefers.
Step 6 of 6: Finishing the Warming Process
We are at the end of the process to show you how to use Dr. brown’s bottle warmer. After completing the last process, take the warmed milk to your baby and get it fed IN the mean time, empty the bottle warmer, don’t forget cleaning or brown’s bottle warmer and keep it in a safe place.
You may also read Dr. brown’s bottle warmer Instructions
What to Remember while Warming Dr. Brown’s
As you are well known for the method about how to use or brown’s bottle warmer now, here are some lucrative tips for you while following Dr. brown’s bottle warmer instructions-
- Choose the best bottles for breastfeeding Keep the safety issue of the baby at top of the priority list.
- Before starting the process, wash your hands properly and make it worm-proof. Use gloves if you can.
- Store the formula powder that you use for preparing baby milk in a cool dry place of ambient temperature.
- You can store made up formula milk for maximum two hours. Don’t arm up milk that’s prepared more than two hours ago.
- Don’t burn your baby’s mouth with overheated milk. Have the right assumption of warming temperature.
- Don’t let the bugs transfer to your baby’s tummy and cause tummy upsets. Keep the entire process neat and clean.
- If your baby is of low growth, pre-term, ill or weak, talk to your baby’s doctor before getting into the process.