To use dr. Brown’s bottle warmer, fill the water reservoir and place the bottle in the holder.
The warmer heats milk to the ideal temperature and shuts off automatically. With these simple instructions, easily warm your baby’s milk to the perfect temperature. As a parent, you want to provide the best care for your baby. Dr. Brown’s bottle warmer is a valuable tool for making feeding time easy and efficient. This bottle warmer can heat milk to the perfect temperature for your little one, and with its automatic shut-off feature, you don’t have to worry about over-heating. In this article, we’ll cover everything you need to know to use this bottle warmer. By following these instructions, you’ll be able to safely and easily heat your baby’s milk every time.
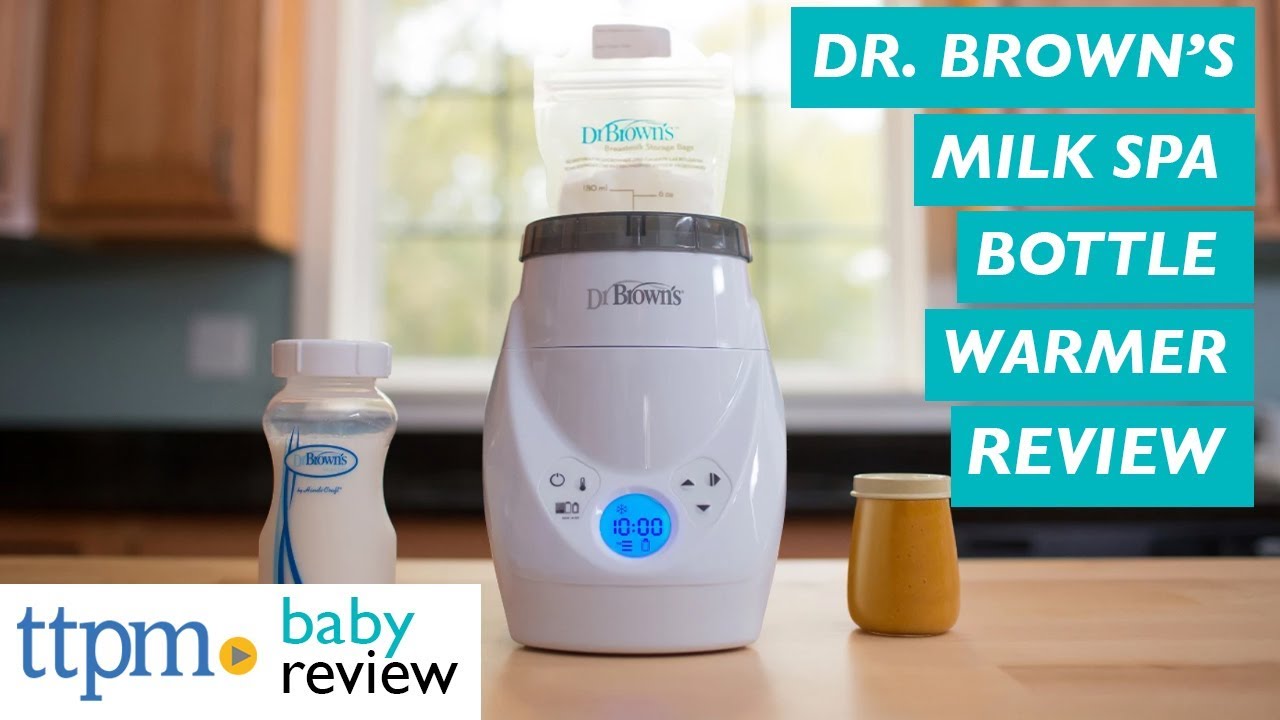
Credit: www.youtube.com
Introduction
Dr brown’s bottle warmer instructions – brief overview of the importance of having a bottle warmer
If you are a new parent, you are probably familiar with the tiring and time-consuming process of heating your baby’s milk or food. Using a microwave or stovetop can cause uneven heating, which might burn your baby’s mouth. Moreover, traditional heating methods could potentially eliminate essential nutrients present in breast milk or baby food.
Dr brown’s bottle warmer comes to the rescue, providing an easy, quick, and safe way to warm up your baby’s meals.
Highlighting Key Features And Benefits Of Dr Brown’S Bottle Warmer
Many products on the market help you warm up your baby’s milk.
- Quick and safe warming time – dr brown’s bottle warmer delivers fast and consistent warming times, with an average warming time of 4 minutes or less. It also comes equipped with an automatic shut-off feature, preventing overheating and ensuring your baby’s safety.
- Universal fit – the bottle warmer is suitable for all sizes of dr brown’s bottles and most other bottle brands, ensuring that you can use it interchangeably.
- Simple operation – the user-friendly design of dr brown’s bottle warmer makes it easy for you to warm up your baby’s milk or food with minimal effort.
- Efficient heating technology – the patented steam heating system preserves nutrients in your baby’s milk or food, providing gentle and even heating that evenly distributes heat without leaving hot spots.
- Multi-functional – dr brown’s bottle warmer also functions as a sterilizer, keeping your baby’s bottles, nipples, and other accessories clean and hygienic.
All of these features work together to provide numerous benefits, including:
- Faster and more efficient bottle preparation – with dr brown’s bottle warmer, you can warm up your baby’s milk or food quickly and safely, reducing wait times and keeping your baby happy and fed.
- Nutrient preservation – the patented heating system of dr brown’s bottle warmer keeps vital nutrients in breast milk or baby food intact, ensuring that your baby gets the best nutrition possible.
- Versatility – not only does dr brown’s bottle warmer fit with different bottle sizes, but it also functions as a sterilizer, giving it multi-functional use.
Dr brown’s bottle warmer is a reliable, efficient, and safe solution to heating up your baby’s milk or food. With its numerous features and benefits, it’s an investment that every new parent needs to make.
Unboxing Your Dr Brown’S Bottle Warmer
Are you a new parent or caregiver wondering how to use your dr brown’s bottle warmer? Unboxing your bottle warmer is the first step to efficiently and safely warming your baby’s bottle. Keep in mind that carefully reading the instructions for use is crucial to maximizing the functions of your device.
In this section, we’ll walk you through the contents of your package, highlight the importance of reading the instructions, and offer suggestions to get you started.
List And Describe The Contents Of The Package
When you receive your dr brown’s bottle warmer, the following items are included in the package:
- Dr brown’s bottle warmer base
- Removable inner basket
- Warmer chamber
- Lid
- Measuring cup
- Power cord with plug
The bottle warmer base is the primary device that heats the bottles. The removable inner basket is designed to hold different sizes of bottles, jars, or containers. The warmer chamber is located inside the device and is where you place the inner basket containing the bottle you want to warm.
The lid is optional but can reduce heating times. The measuring cup is used to measure the appropriate amount of water needed for warming bottles of different sizes, while the power cord is used to connect the device to a power outlet.
Highlight The Importance Of Reading Instructions
Although using a bottle warmer seems simple, it is crucial to read the instructions for use. This will ensure that you use the warmer efficiently and safely, avoiding any potential risks.
The instructions guide you through the appropriate amount of water to use, recommended warming time, and how to place the bottle or container in the inner basket. The instructions also provide important safety guidelines, such as ensuring that the warmer is always unplugged when not in use and keeping the device out of reach of children at all times.
Furthermore, reading the instructions will help you avoid damaging your device or causing an overflow of water during use. Taking the time to understand how your bottle warmer works will help you get the most out of its functions and create a pleasant feeding experience for you and your baby.
Getting Started With Your Dr Brown’S Bottle Warmer
To get started with your dr brown’s bottle warmer, fill the measuring cup with the appropriate amount of water based on the bottle’s size and place it in the warmer chamber. Then, insert the inner basket into the device and place the bottle or container into the basket.
Optionally, you can choose to use the lid to reduce heating times.
Press the button on the device to start heating the bottle. The device will automatically turn off when it has finished heating the bottle, and the indicator light will turn off. Remove the bottle from the inner basket and check the temperature of the milk or formula before feeding it to your baby.
Unboxing your dr brown’s bottle warmer is the first step to making your feeding experience easier and safer. The package contains various items, including the bottle warmer base, removable inner basket, warmer chamber, lid, measuring cup, and power cord, all of which are essential for effectively warming your baby’s bottles.
Remember to read the instructions for use carefully before getting started and enjoy the convenience your dr brown’s bottle warmer provides.
Steps To Follow In Using Dr Brown’S Bottle Warmer
Highlight The Safe Environment For Using The Bottle Warmer
Dr brown’s bottle warmer provides a safe environment to warm breast milk and baby formula without causing any heat loss. However, parents must adhere to some safety precautions before using the machine.
Precautionary Measures When Using The Bottle Warmer
- Always keep the device out of reach of children.
- Only use the recommended amount of water to avoid overheating.
- Always unplug the device when not in use.
- Don’t overheat milk or formula in the warmer or use any other liquid.
- Never place bottle nipples, ring, or covers in the warmer.
Highlight The Recommended Amount Of Water To Be Used For Different Bottle Sizes
It is essential to choose the right amount of water for different bottle sizes to ensure the milk or formula’s correct temperature.
- For a 4 oz standard bottle size, use 3 oz of water.
- For an 8 oz standard bottle size, use 5 oz of water.
Establish The Importance Of Measuring The Right Amount Of Water
Measuring the proper amount of water will ensure that the milk or formula will be heated to the correct temperature, ensuring that your baby gets the proper nourishment.
Description Of The Controls Available On The Bottle Warmer
Dr brown’s bottle warmer has simple control functions that make it easy for parents to use.
- Power button
- Plus and minus buttons
- Lcd screen
Demonstrate How To Adjust The Settings For Desired Temperature
The temperature settings on the dr brown’s bottle warmer can be adjusted depending on the desired temperature.
- Press the power button to turn on the warmer. The lcd screen will light up.
- Use the plus or minus button to set your desired temperature.
- Once your desired temperature is set, press the power button again to start the warming process.
Highlight The Correct Way Of Placing The Bottle In The Warming Chamber
It is essential to place the bottle correctly in the warming chamber.
- Fill the warmer with the correct amount of water, then place the warming basket on top.
- Put the bottle in the warming basket with the nipple and cap securely in place.
- Place the warming basket back on top of the warmer.
Demonstrate How To Adjust The Warming Time For Different Bottle Types
Different bottles will require varying warming times.
- Press the plus button or minus button to increase or decrease the warming time, respectively.
- Stop increasing or decreasing the time when the screen shows the recommended time for the size of the bottle.
Indicate The Duration It Will Take To Warm The Bottle
The time to warm the bottle depends on the bottle size, temperature, and amount of water. The lcd screen displays the suggested heating time for different bottle sizes. Generally, the warmer takes about three minutes to heat up 4 oz of liquid and four minutes to heat 8 oz.
Explain The Benefits Of Waiting For The Warm Cycle To Complete
It is essential to wait for the warming cycle to complete before removing the bottle from the warming chamber. By doing this, you’ll ensure that the milk or formula will be evenly heated and at the correct temperature. Also, waiting for the warmer to complete heating helps prevent hotspots in the milk or formula, which can lead to burns.
Dr brown’s bottle warmer provides an excellent solution for warming baby bottles. By following the recommended guidelines and safety precautions, parents can have peace of mind while warming bottles.
Care & Maintenance Of The Bottle Warmer
Dr brown’s bottle warmer instructions: care & maintenance of the bottle warmer
If you’re a new parent, you know that bottle feeding is a crucial part of your daily routine. But, did you know that maintaining and cleaning your bottle warmer is equally important? Proper care and maintenance of your bottle warmer contribute to safe and efficient warming every time.
In this section, we’ll highlight essential points to keep your bottle warmer clean, well-maintained, and in good working condition.
Highlight The Recommended Ways Of Cleaning The Bottle Warmer
Cleaning your bottle warmer is critical to ensuring that it works efficiently and keeps your baby’s bottles safe.
- Unplug the bottle warmer and allow it to cool down entirely before cleaning.
- Clean the exterior with a clean cloth and warm water or mild soap. Do not soak the bottle warmer in water or use abrasive cleaners.
- Use a damp, clean cloth to wipe the heating chamber and other parts of the bottle warmer.
- To clean the water reservoir, fill it with hot water and add one teaspoon of vinegar. After 30 minutes, empty the liquid, fill it with clean water, and rinse.
- If any remnants of milk or formula are present, pour 2 oz of white vinegar and 4 oz of water into the heating chamber and let it warm for 5 minutes. Then, discard the mixture and rinse with clean water.
Emphasize The Importance Of Regular Maintenance For Longevity
Regular maintenance of your bottle warmer is essential to keep it in good working condition, prolong its lifespan, and ensure quality bottle warmings.
- Perform regular cleaning at least once a week, even if you don’t use it frequently.
- Store the device neatly in a safe and dry place.
- Periodically check the cord and plug for any damages. If you find any, replace it immediately.
- If you notice any damages to the device, avoid using it and contact the manufacturer for repair/replacement.
- Refer to the user manual that comes with the device for further instructions on maintenance.
By following these simple steps, you can ensure the longevity of your bottle warmer and guarantee the safety of your little one’s nourishment.
Proper care and maintenance of your bottle warmer is essential for your baby’s health and safety. Make sure to clean and maintain your device regularly to ensure quality bottle warming every time.
Conclusion
Dr Brown’S Bottle Warmer Instructions: Conclusion
Using a bottle warmer is an essential aspect of baby care that makes the feeding process both simple and stress-free. Dr brown’s bottle warmer is an innovative solution that helps warm milk and other baby drinks quickly and efficiently, providing a comfortable temperature for the baby.
Summarize The Importance Of Using A Bottle Warmer
- Increases efficiency: when using a bottle warmer, milk or baby drinks can be heated quickly and efficiently.
- Consistent temperature: bottle warmers are designed to provide a consistent temperature, ensuring that the baby’s milk or drink is not excessively hot and making it easy for parents to know how warm the drink is at all times.
- Safety: bottle warmers eliminate the risk of scalding or accidentally overheating milk or formula, ensuring that your baby’s feeding is not only comfortable but also safe.
- Enhances convenience: bottle warmers save valuable time in the process of warming a baby’s bottle, making feeding hassle-free and convenient.
Highlight The Key Points Of Using Dr Brown’S Bottle Warmer As Per Instructions Mentioned Above.
- Accurate measurements: dr. Brown’s bottle warmer instructions must be followed to ensure the accurate heating of your baby’s milk. Always measure the water and choose the appropriate bottle, based on the drink’s content, and use the markings on the device’s reservoir to pour the right amount of water.
- Easy to set up and use: the dr brown’s bottle warmer is easy to set up, and its user-friendly interface makes it easy to adjust the heating time. To use it, add water, place your bottle, and choose your settings for heating.
- Efficient heating: in just a few minutes, dr brown’s bottle warmer will heat your baby’s milk to the perfect temperature.
- Works with dr. Brown’s bottles: designed to perfectly fit dr. Brown’s narrow and wide-neck bottles, this bottle warmer will effectively warm the baby’s drink for feeding.
Dr brown’s bottle warmer is a fantastic addition to your baby’s feeding kit. It is easy to set up and use, provides efficient and consistent heating, and ensures the baby’s drink is always comfortable and safe for consumption. By following the instructions provided closely, you can significantly reduce the time spent warming milk and enjoy a more relaxed feeding experience.
Frequently Asked Questions For Dr Brown’S Bottle Warmer Instructions
Conclusion
Using dr. Brown’s bottle warmer is a simple and efficient way to warm your baby’s milk or food. By following the instructions carefully, you can ensure that the temperature is accurate and safe for your little one. The guided timer and built-in reservoir make the warming process hassle-free and quick.
It’s also easy to clean and maintain for regular use. It is crucial to remember not to overheat the milk or food, and always check the temperature before feeding your baby. Dr. Brown’s bottle warmer is a top-rated product in the market, and its reliability has been tested by many parents.
It’s an excellent investment for your baby’s feeding routine and a must-have for busy schedules. Don’t hesitate to buy one today and enjoy the benefits of a convenient and reliable bottle warmer.